

WordPress is a great platform to use for content management. Many web users know how to add in basic content to WordPress, but when it comes to getting images to appear properly they are all jumbled. Here you will learn how to utilize the free photo editing tools that WordPress offers. In Part I of Learn how to use the free WordPress photo editing tools we will be going over image alignment and padding.
How to align an image with content.
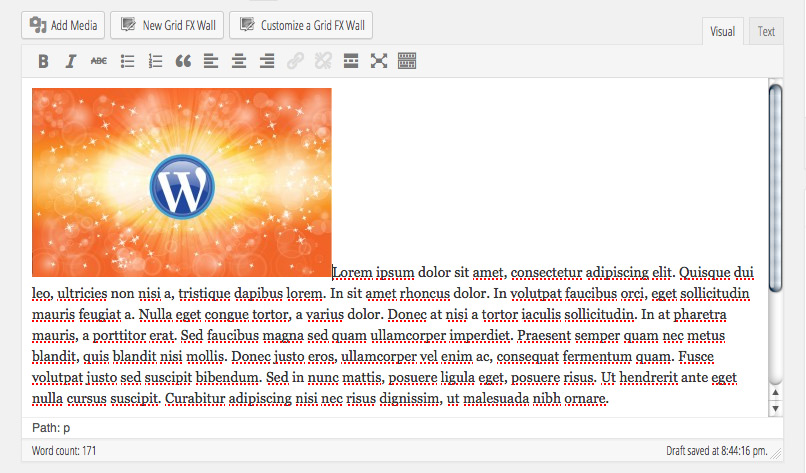
After inserting an image into the main content area you are likely viewing the image to the far left; something like the following:
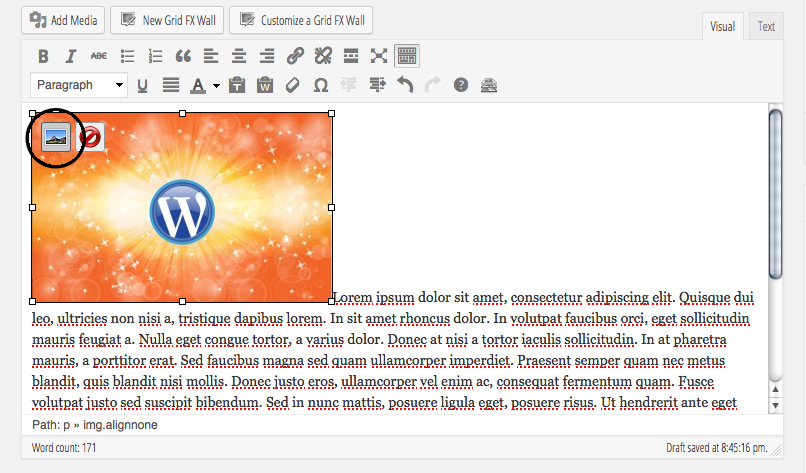
To align the image you will need to click on the image and select the Edit Image icon  . For location, see below:
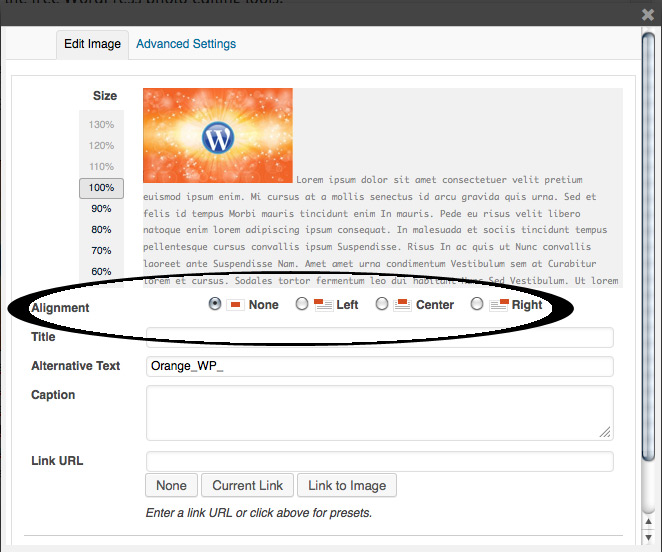
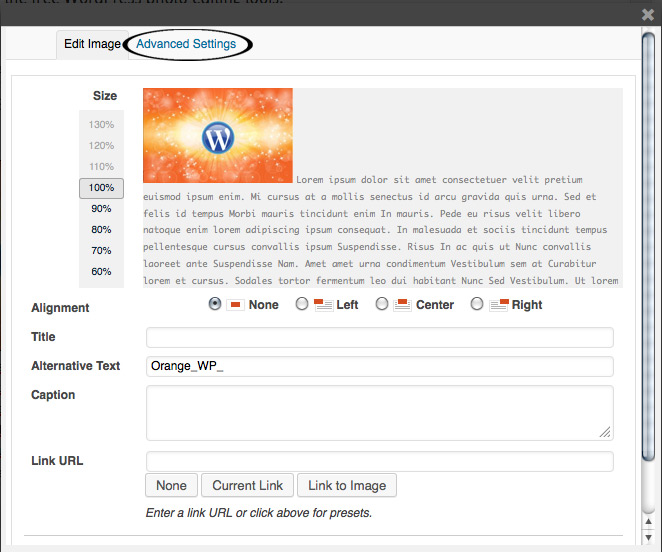
A window will pop up giving you some options. Under the section titled Alignment you can select how you would like an image to be aligned (left, center, right or none). See image below:
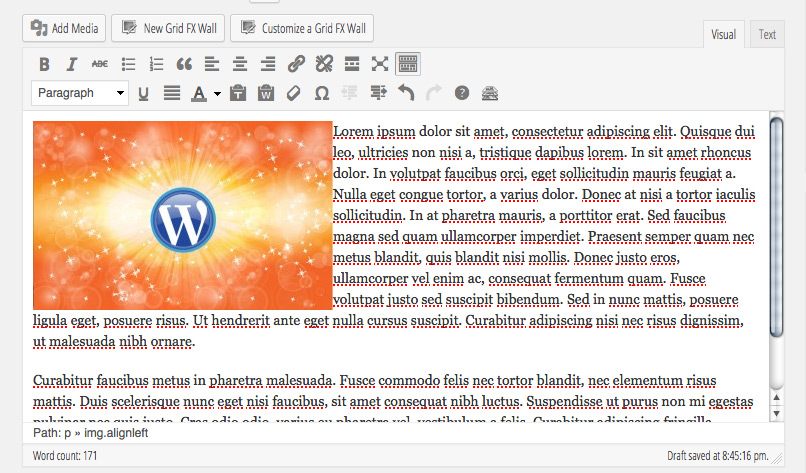
Once you are done selecting the alignment, click the Update button located at the bottom of the page. If you aligned your image to the left your content and image would look something like the following:
How to add padding to an image.
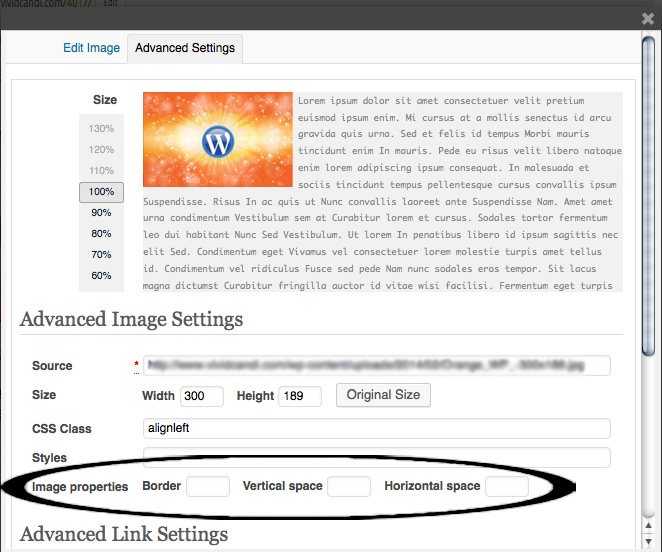
We have aligned the image, but now the image is very close to the content on the left side. To fix this you must go back to edit the image by clicking on the image and selecting the Edit Image icon . This time you will need to click on the Advanced Settings tab at the top. See image below:
Once in the Advanced Settings, under the section titled Image Properties you can enter in a whole number in the Horizontal Space box. For example, I like to add an image padding of 20px, so I would place the number 20 in the Horizontal Space box. Next, make sure you click with your mouse outside the Horizontal Space box and content will appear in the Styles section above the Image Properties section. See images below:

Once you have the content in the Styles section you can do one more step, which is optional. You can delete the left margin so that the image doesn’t have padding on the left (for left aligned images and delete the right margin if the image is aligned to the right). To do this highlight only the left margin content and click the delete button on your keyboard. See image below:
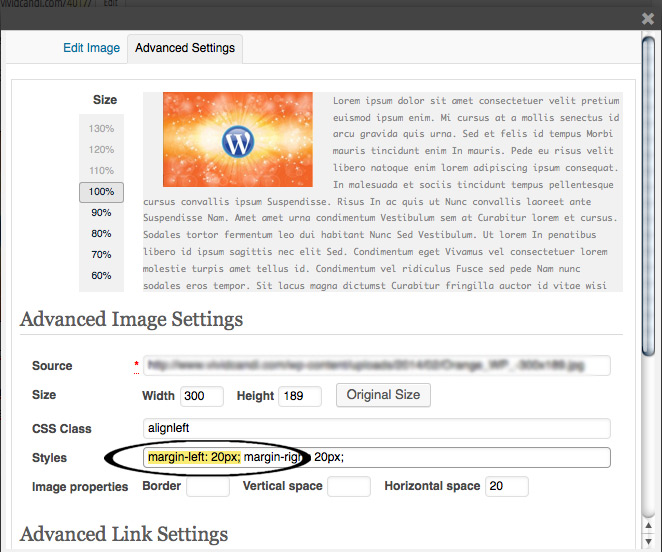
After deleting the left margin click the Update button at the bottom of the page and you will now have an image that is left aligned with padding on the right and looking good. I hope Part I of Learn how to use the free WordPress photo editing tools was helpful. Stay tuned for Part II of Learn how to use the free WordPress photo editing tools.
