

In Part I of Learn how to use the free WordPress photo editing tools, we reviewed how to align and add padding to images. In Part II of Learn how to use the free WordPress photo editing tools, we will be reviewing how to crop and scale images in WordPress.
How to crop an image.
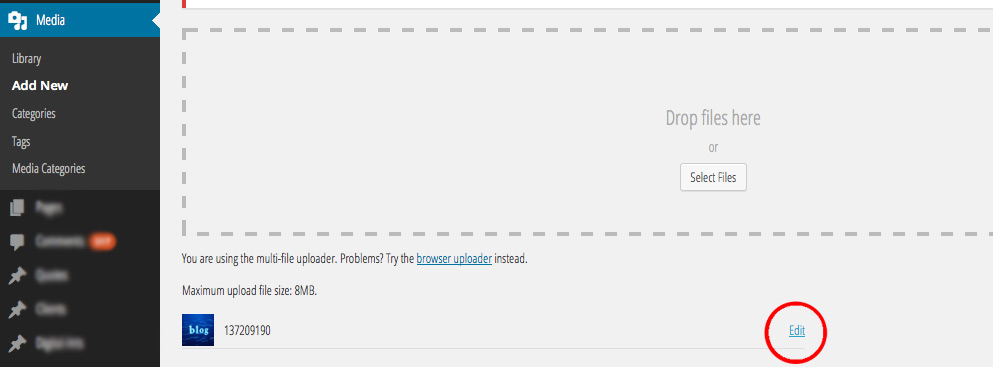
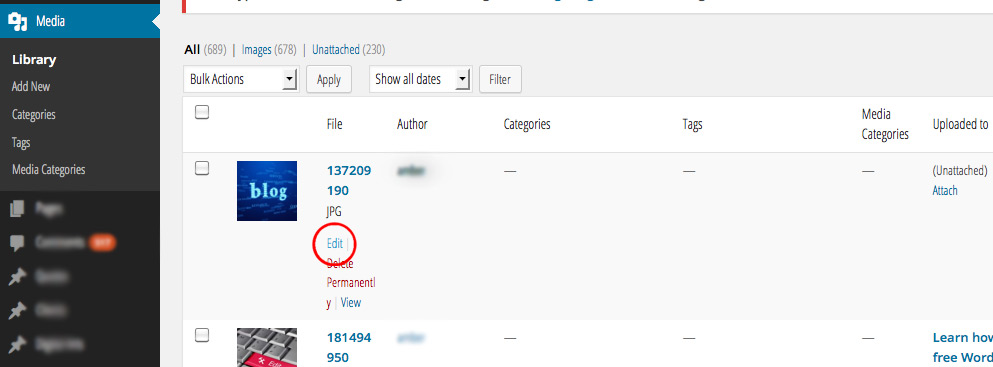
To crop an image, click on the Media link in the left sidebar of the WordPress menu and click on the Library link. Upload an image by clicking on the blue Add New button at the top of the page. Once an image is uploaded, click the Edit link or hover your mouse over the image you would like to crop and click the Edit link. See images below:
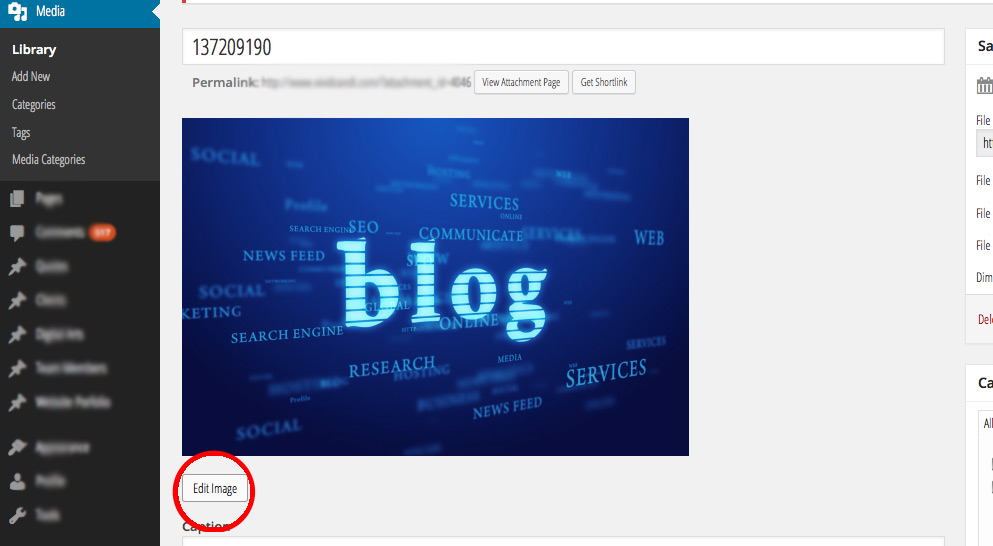
Once you have clicked on the Edit link you will be taken to the Edit Media page, where you can edit the image by clicking the Edit Image link below the image. See image below:
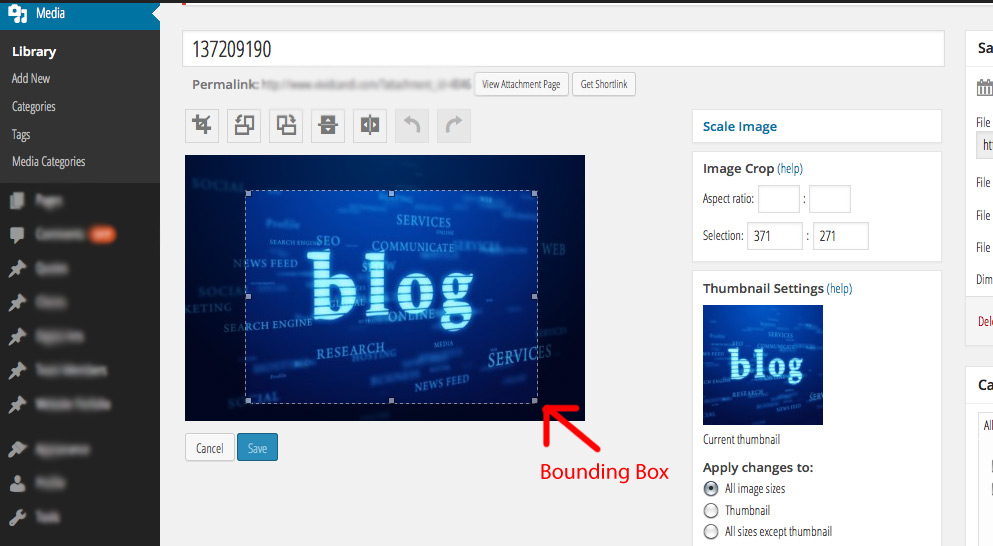
To crop the image take your mouse and place the mouse arrow inside the image and click and drag at the same time with your mouse. You will create a bounding box for cropping. When you let go of your mouse you can click on the image again to move around the box or resize the box by pulling on the edges. See image below:
Once you have the area you would like to crop selected, click the Crop icon ![]() . If you can not click the Crop icon it is because the image is too small to crop or the selected area is too small. You might need to get a bigger image. See image below:
. If you can not click the Crop icon it is because the image is too small to crop or the selected area is too small. You might need to get a bigger image. See image below:
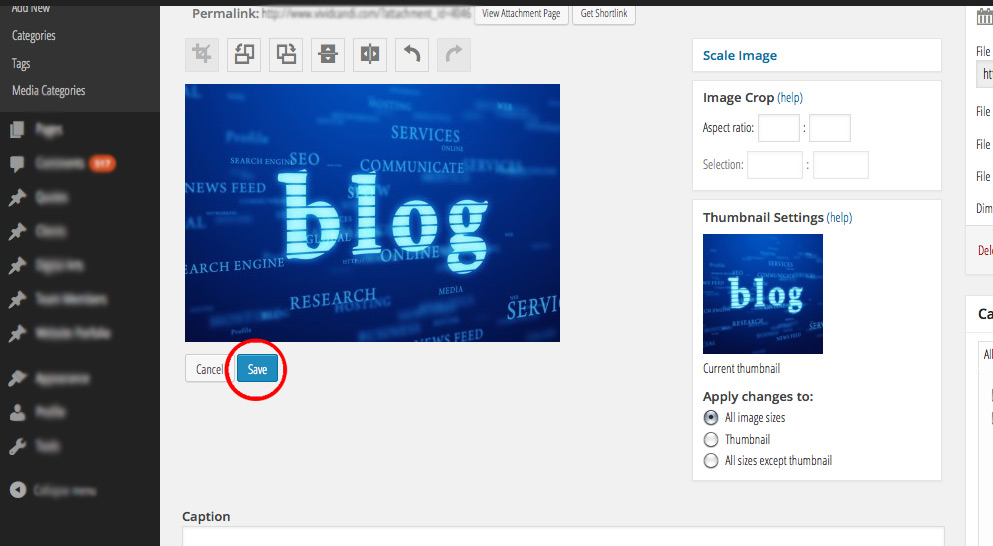
After you click the Crop icon and your image is cropped, make sure to click the Save button under the image. Then click the Update button to the right. See image below:
How to scale and image.
To scale an image, just like you would to crop an image, click on the Media link in the left sidebar of the WordPress menu then click on the Library link. Upload an image by clicking on the blue Add New button at the top of the page. Once an image is uploaded, click the Edit link or hover your mouse over the image you would like to crop and click the Edit link. See images below:
Again, just like if you were going to crop and image, once you have clicked on the Edit link you will be taken to the Edit Media page, where you can edit the image by clicking the Edit Image link below the image. See image below:
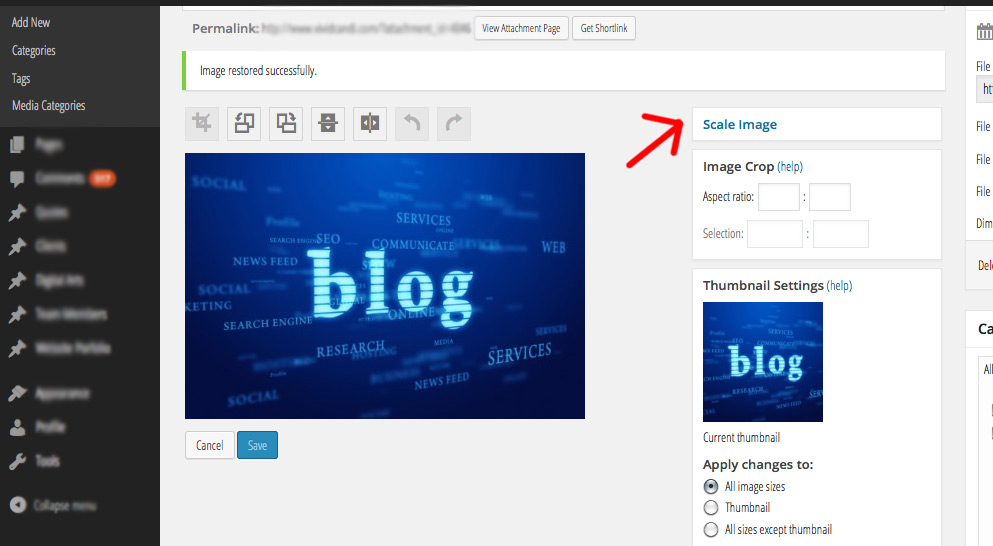
You will see a link called Scale Image to the top right. Click on the Scale Image link. See image below:
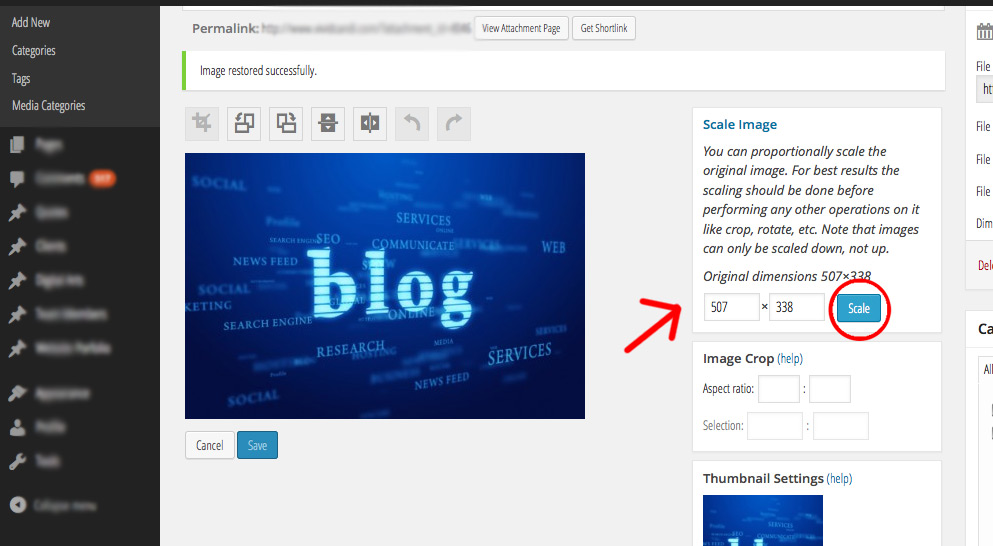
The Scale Image section will expand once clicked and show you the image dimensions. You can click in either of the two dimension boxes and alter the image dimensions. The scaling section is set to automatically make what you enter in one box proportional to the other. Click the Scale button once you are done updating the dimensions and the image will be scaled to your specifications. See image below:
Once you are done scaling, click the Update button to the top right. After you are finished scaling your image you can now add it to your content by locating it in the Media Library when you go to add an image.
I hope Part II of Learn how to use the free WordPress photo editing tools was helpful. Now you should be able to crop and scale your images with ease.
